最近学习了关于Android进程保活的相关知识,在此写下一篇博客总结下。
Android 进程优先级
如果需要保证我们的应用所在进程存活,那么我们就应该先了解一下Android系统中进程的分类。
在Android中,进程依据重要性被分为5级,越高级的进程越重要,在内存不够回收进程时也会越晚被回收:
前台进程(Foreground process):指用户当前操作必须的进程。一般来说,系统中仅存在极少的前台进程,而且它们会到最后才被回收掉。拥有以下特征的进程被视为前台进程:
- 拥有Activity运行在屏幕最前端的进程。(已调用Activity的onResume方法)
- 拥有正在运行的BroadcastReceiver的进程。(已调用BroadcastReceiver的onReceive方法)
- 拥有正在执行的Service的回调方法的进程。(Service的onCreate、onStart、onDestroy方法)
可见进程(Visible process):正在执行某些用户可见操作的进程。当杀死这些进程时,用户会有一定的影响。拥有以下特征的进程被视为可见进程:
- 拥有可视的,但不是在前台的Activity。(已调用onPause方法)(当另一个个Activity设置为dialog模式时可能出现这种情况)
- 拥有一个前台Service。(通过用startForeground)
- 拥有系统关键特性的Service,如动态壁纸、输入法等服务。
服务进程(Service process):拥有一个正在运行的Service的进程。通常这种进程都是不可见的,会在运行较长的时候后考虑降级回收掉。
后台进程(Background process):这是一种对用户体验没有直接影响的进程,系统会在需要内存的时候随时回收这种进程,这种进程通常会持有一个已调用onStop方法的Activity。
空进程(Empty process):不含任何活动应用组件的进程。保留这种进程的的唯一目的是用作缓存,以缩短下次在其中运行组件所需的启动时间。 为使总体系统资源在进程缓存和底层内核缓存之间保持平衡,系统往往会终止这些进程。
更多详细的进程优先级内容可以参考Android官方文档:
https://developer.android.com/guide/topics/processes/process-lifecycle.html
https://developer.android.com/guide/components/processes-and-threads.html
Android 进程回收策略
众所周知,Android是基于Linux系统的。在Android进程回收策略中,Android进程与Linux进程根据OOM_ADJ阈值进行区分:
- OOM_ADJ >= 4:比较容易被杀死的进程
- OOM_ADJ 0 ~ 3:不容易被杀死的进程
- OOM_ADJ < 0 :纯Linux进程,非Android进程
当Android系统察觉设备内存不足时,会按照阈值从大到小杀死进程。
具体的oom_adj值的意义我们可以查看AOSP中的com.android.server.am.ProcessList 文件(其中本人添加了一些中文注释):
1 | /** |
Android 进程被杀死情况
一般来说,Android进程被杀死有以下几种情况:
- 触发系统进程管理机制回收(Lowmemorykiller):这种方法会按照阈值从大到小进行清理
- 被没有进行Root的第三方应用杀死(使用killBackgroundProcess方法):这种方法只能杀死OOM_ADJ为4以上的进程
- 被进行Root的第三方应用杀死(使用force-stop或者kill):理论上来说可以杀死所有进程,但一般只会清理非系统关键进程和非前台可见进程
- 厂商的杀进程功能(force-stop或者kill):理论上来说可以杀死所有进程,包括Linux原生进程
- 用户主动“强行停止”进程(force-stop):只能停用第三方和非system/phone进程应用(停用system进程应用会造成Android系统重启)
Android 进程保活思路
在了解完Android进程的优先级与Android进程的回收策略后,我们保活Android进程的思路就有了两方面:
- 通过提升Android进程优先级,使得进程更难以被回收
- 通过某些特殊的机制,在进程死后将其拉活
提升Android进程的优先级
利用Activity提升进程等级
在某些启用后台服务场景中,为了防止我们的应用被第三方应用或系统管理工具在锁屏后为省电而被杀死,我们可以通过启动一像素大小的界面来提升进程等级,让进程等级从后台进程提升到前台进程。
1像素Activity:
1 | public class OnePixelActivity extends Activity { |
编写广播接收器监听锁屏和解锁action:
1 | public class ScreenBroadcastReceiver extends BroadcastReceiver { |
值得注意的是Intent.ACTION_SCREEN_ON与Intent.ACTION_SCREEN_OFF只有通过Context.registerReceiver方法注册的广播接收器才能监听到,官方解释如下: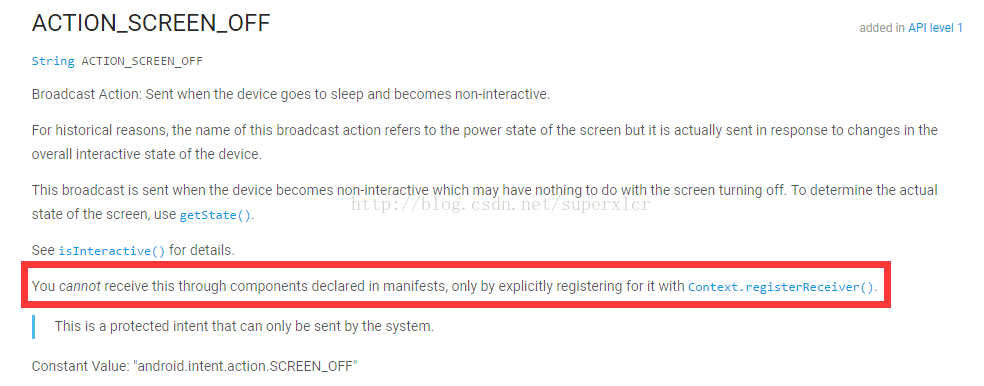
SCREEN_ON屏幕亮起同上,在此就不给出展示了。
下面给出Service的例子,我们在启动服务时使用registerReceiver注册监听器,然后在注销服务时注销监听器:
1 | public class WorkService extends Service { |
主Activity启动服务后关闭自身,模拟没有Activity的情况:
1 | public class MainActivity extends AppCompatActivity { |
通过adb shell可以看到,在锁屏前应用所处的进程oom_adj值是较高的,锁屏后由于启动了Activity,oom_adj值降低了,进程的等级得到了相应的提高,变得更难以被回收了,这样可以一定程度上缓解我们的应用被第三方应用或系统管理工具在锁屏后为省电而被杀死的情况: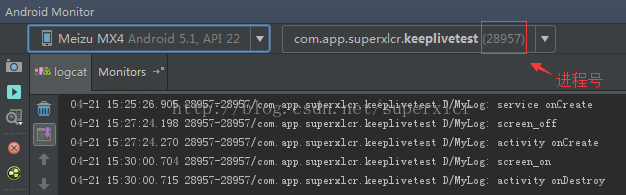

利用Notification提升权限
与第一种方法相似,这种方法也适用于Service在后台提供服务的场景。由于没有Activity的缘故,我们Service所在进程的oom_adj值通常是较高的,进程等级较低,容易被系统回收内存时清理掉。这时我们可以通过startForeground方法,把我们的服务提升为前台服务,提高进程的等级。但提升为前台服务必须绑定一个相应的Notification,这是我们不愿意看到的。此时我们可以先使用一个Fake Service来绑定某一个Notification,然后利用相同的id绑定我们真正的Service,然后关闭我们的Fake
Service,此时我们的Notification会随着我们的Fake Service一齐关闭,但我们真正的Service仍依然处于前台运行状态,进程等级就得到了相应的提升。
FakeService代码:
1 | public class FakeService extends Service { |
WorkService(工作的Service)代码如下:
1 | public class WorkService extends Service { |
主Activity依旧,开启Service后关闭:
1 | public class MainActivity extends AppCompatActivity { |
运行输出日志如下所示: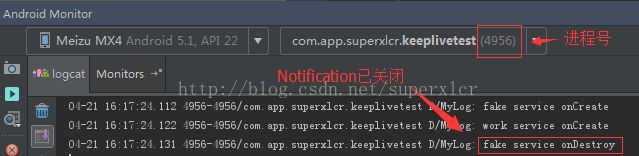
进程的等级如下:
oom_adj值为2,进程为拥有前台服务的可见进程。
在Android进程死后进行拉活
对于Android进程的保活,除了使我们的进程更难以被杀死外,我们还可以通过某些方法在我们的进程被杀死后将其救活。
利用系统广播拉活
我们可以在Manifest中注册广播接收器监听系统广播,在接收到广播时查看我们的进程是否被回收,如果被回收则进行自启。
不过需要注意的是,并非所有广播都能被Manifest注册的广播接收器接收到,有些类似于SCREEN_ON等广播只有通过Context.registerReceiver方法注册的广播接收器才能接收到,具体的我们可以查看Android官方的文档说明。
该方法的缺陷也很明显:首先,广播接收器被管理软件、系统软件通过“自启管理”等功能禁用的场景无法接收到广播,从而无法自启;其次,这种方法也无法保证进程挂掉后立即拉活。
利用第三方应用广播拉活
这种方法与利用系统广播拉活类似,我们通过反编译第三方的热门应用,监听外发广播拉活我们的进程。
不过该方法也有缺陷:首先,能了解到有什么外发广播取决于我们反编译应用的多少;其次,在这些应用更新版本后,外发广播可能会取消掉,因此并不是特别可靠。
利用系统Service机制拉活
当我们使用Service时,可以通过重写onStartCommand方法的返回值来保证我们的进程被杀死后重启。总的来说,返回值有以下4个:
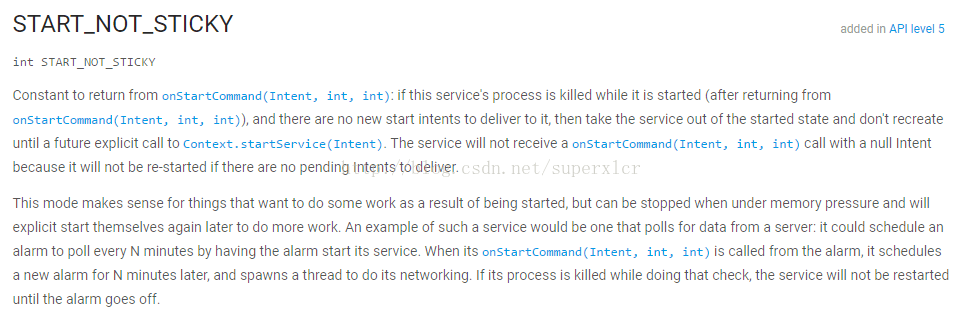
当我们返回了START_NOT_STICKY时,我们的Service所在进程被杀死后将不会被重启。
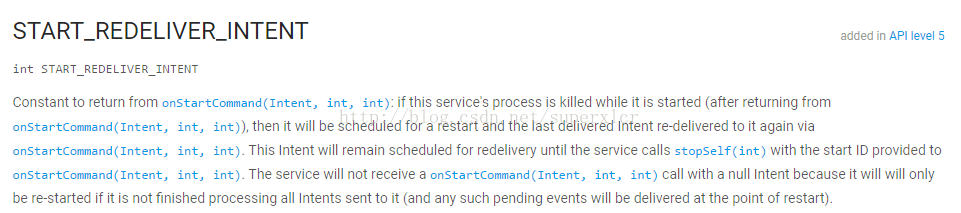
当我们返回了START_REDELIVER_INTENT时,我们得Service所在进程被杀死后,系统将会重启我们的Service,并且在调用onStartCommand方法时,会发送最后传送的Intent。

当我们返回START_STICKY时,如果我们的Service所在进程被杀死了,系统会自动重启我们的Service,不过在onStartCommand方法中有可能会传输null的Intent参数。
START_STICKY_COMPATIBILITY与START_STICKY类似,是其兼容的版本,该参数并不保证onStartCommand方法会被调用。
测试例子如下:
1 | public class WorkService extends Service { |
START_REDELIVER_INTENT效果:
首次运行:
然后我们在adb shell中使用kill指令把该进程杀死。
在杀死进程一段时间后,服务进程被自动重启了,此时Intent参数是非空的:
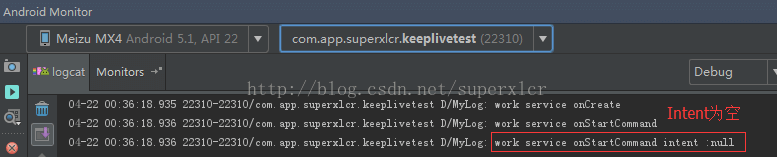
START_STICKY效果,我们把代码中onStartCommand的返回值改成了START_STICKY:
首次运行效果相同,故不再截图。
然后我们依旧在adb shell中使用kill指令把该进程杀死。
在杀死进程一段时间后,服务进程被自动重启了,但此时Intent变成了空值:
START_STICKY_COMPATIBILITY效果,我们把代码中onStartCommand的返回值改成了START_STICKY_COMPATIBILITY:
首次运行效果相同,故不再截图。
然后我们依旧在adb shell中使用kill指令把该进程杀死。
在杀死进程一段时间后,服务进程被自动重启了,但此时Service只执行了onCreate方法,并没有执行onStartCommand方法: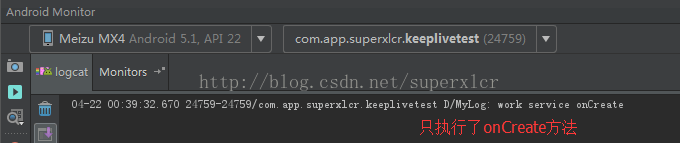
不过该方法也存在着一定的缺陷:首先,如果短时间内Service被杀死多次,那么我们的系统将不再拉起进程;其次,如果我们的进程被取得Root权限的管理工具或系统工具通过force-stop指令停止掉时,将无法重启。
利用Native进程拉活
这种方法原理是:利用Linux中的fork机制创建一个Native进程,在Native进程中监控主进程的存活,当主进程挂掉后,在Native进程中立即对主进程进行拉活
这种方法具有几项挑战:
- Native进程如何感知主进程的死亡:利用文件锁,而非轮询来判断主进程是否死亡,有利于性能
- Native进程如何拉活主进程:通过am命令进行拉活,并指定“–include-stopped-packages”参数来拉活主进程处于force-stop状态的情况
- 如何保证Native进程的唯一:设计成C/S模式,主进程与Native进程通过Localsocket进行通信
除上述列出的挑战外,在实际编写过程中还有很多的问题等着我们去解决,由于博主学识尚浅,在此无法编码举例,只能推荐两篇博客供学习:
Android 进程常驻(3)—-native保活5.0以下方案推演过程以及代码详述
Android 进程常驻(4)—-native保活5.0以上方案推演过程以及代码详述
利用JobScheduler机制拉活
JobService和JobScheduler是Android5.0(API 21)引入的新API,我们可以通过该机制来拉活我们的Service所在进程。
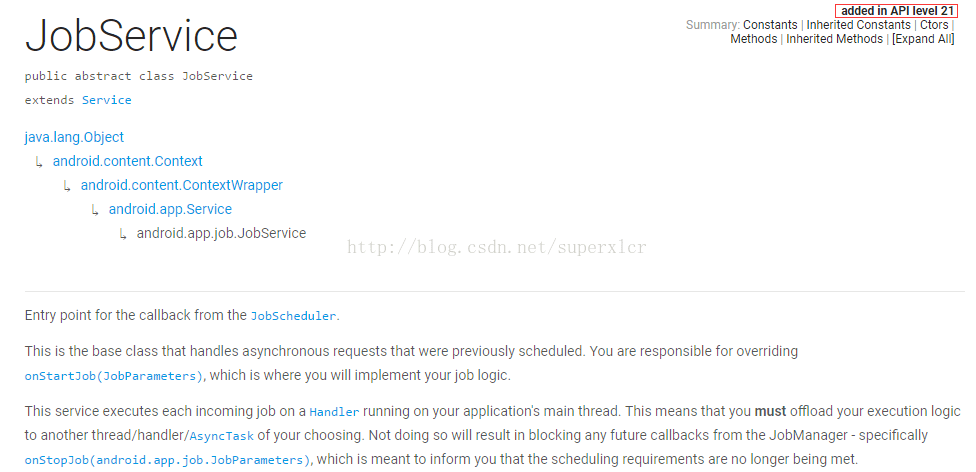
首先我们通过继承JobService类来实现自己的Service,记得重写onStartJob和onStopJob方法。然后我们在onCreate方法里面通过JobScheduler来调度我们的Service,值得注意的是需要把参数设置为Persisted:
1 | public class MyJobService extends JobService { |
使用JobService和把Service设置为Persisted都需要我们在Manifest中配置相应的参数: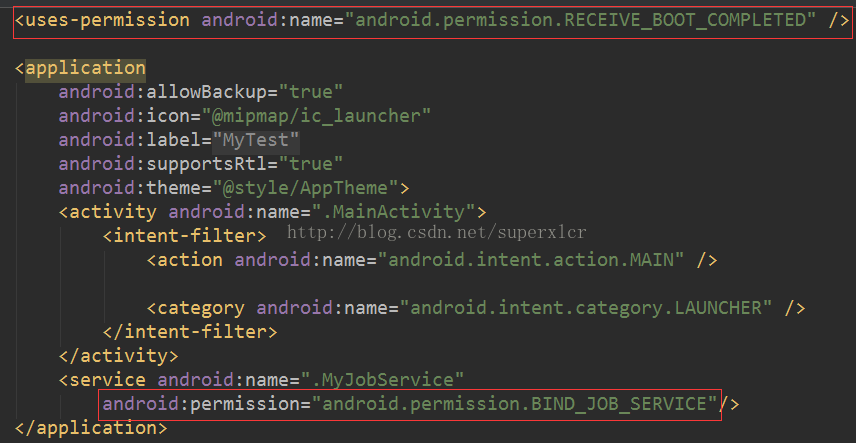
然后运行服务即可发现,在Service所在进程被杀掉后,我们的Service会自动重启:
首次运行: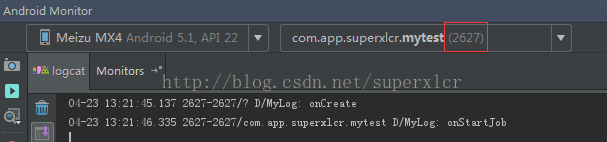
使用kill指令杀掉后: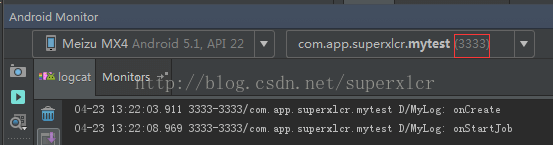
该方法依然有它的缺陷:
首先,JobService只适用于Android5.0以上的系统;其次,当进程被force-stop指令杀死后,JobService依旧无法拉活进程。
利用账号同步机制进行拉活
除了上述拉活方法以外,我们还可以在Android定期同步账号时进行拉活操作。由于博主在这方面研究不深,故不作深入描述。
这种方法所存在的缺陷是:需要进行账号授权和同步服务。
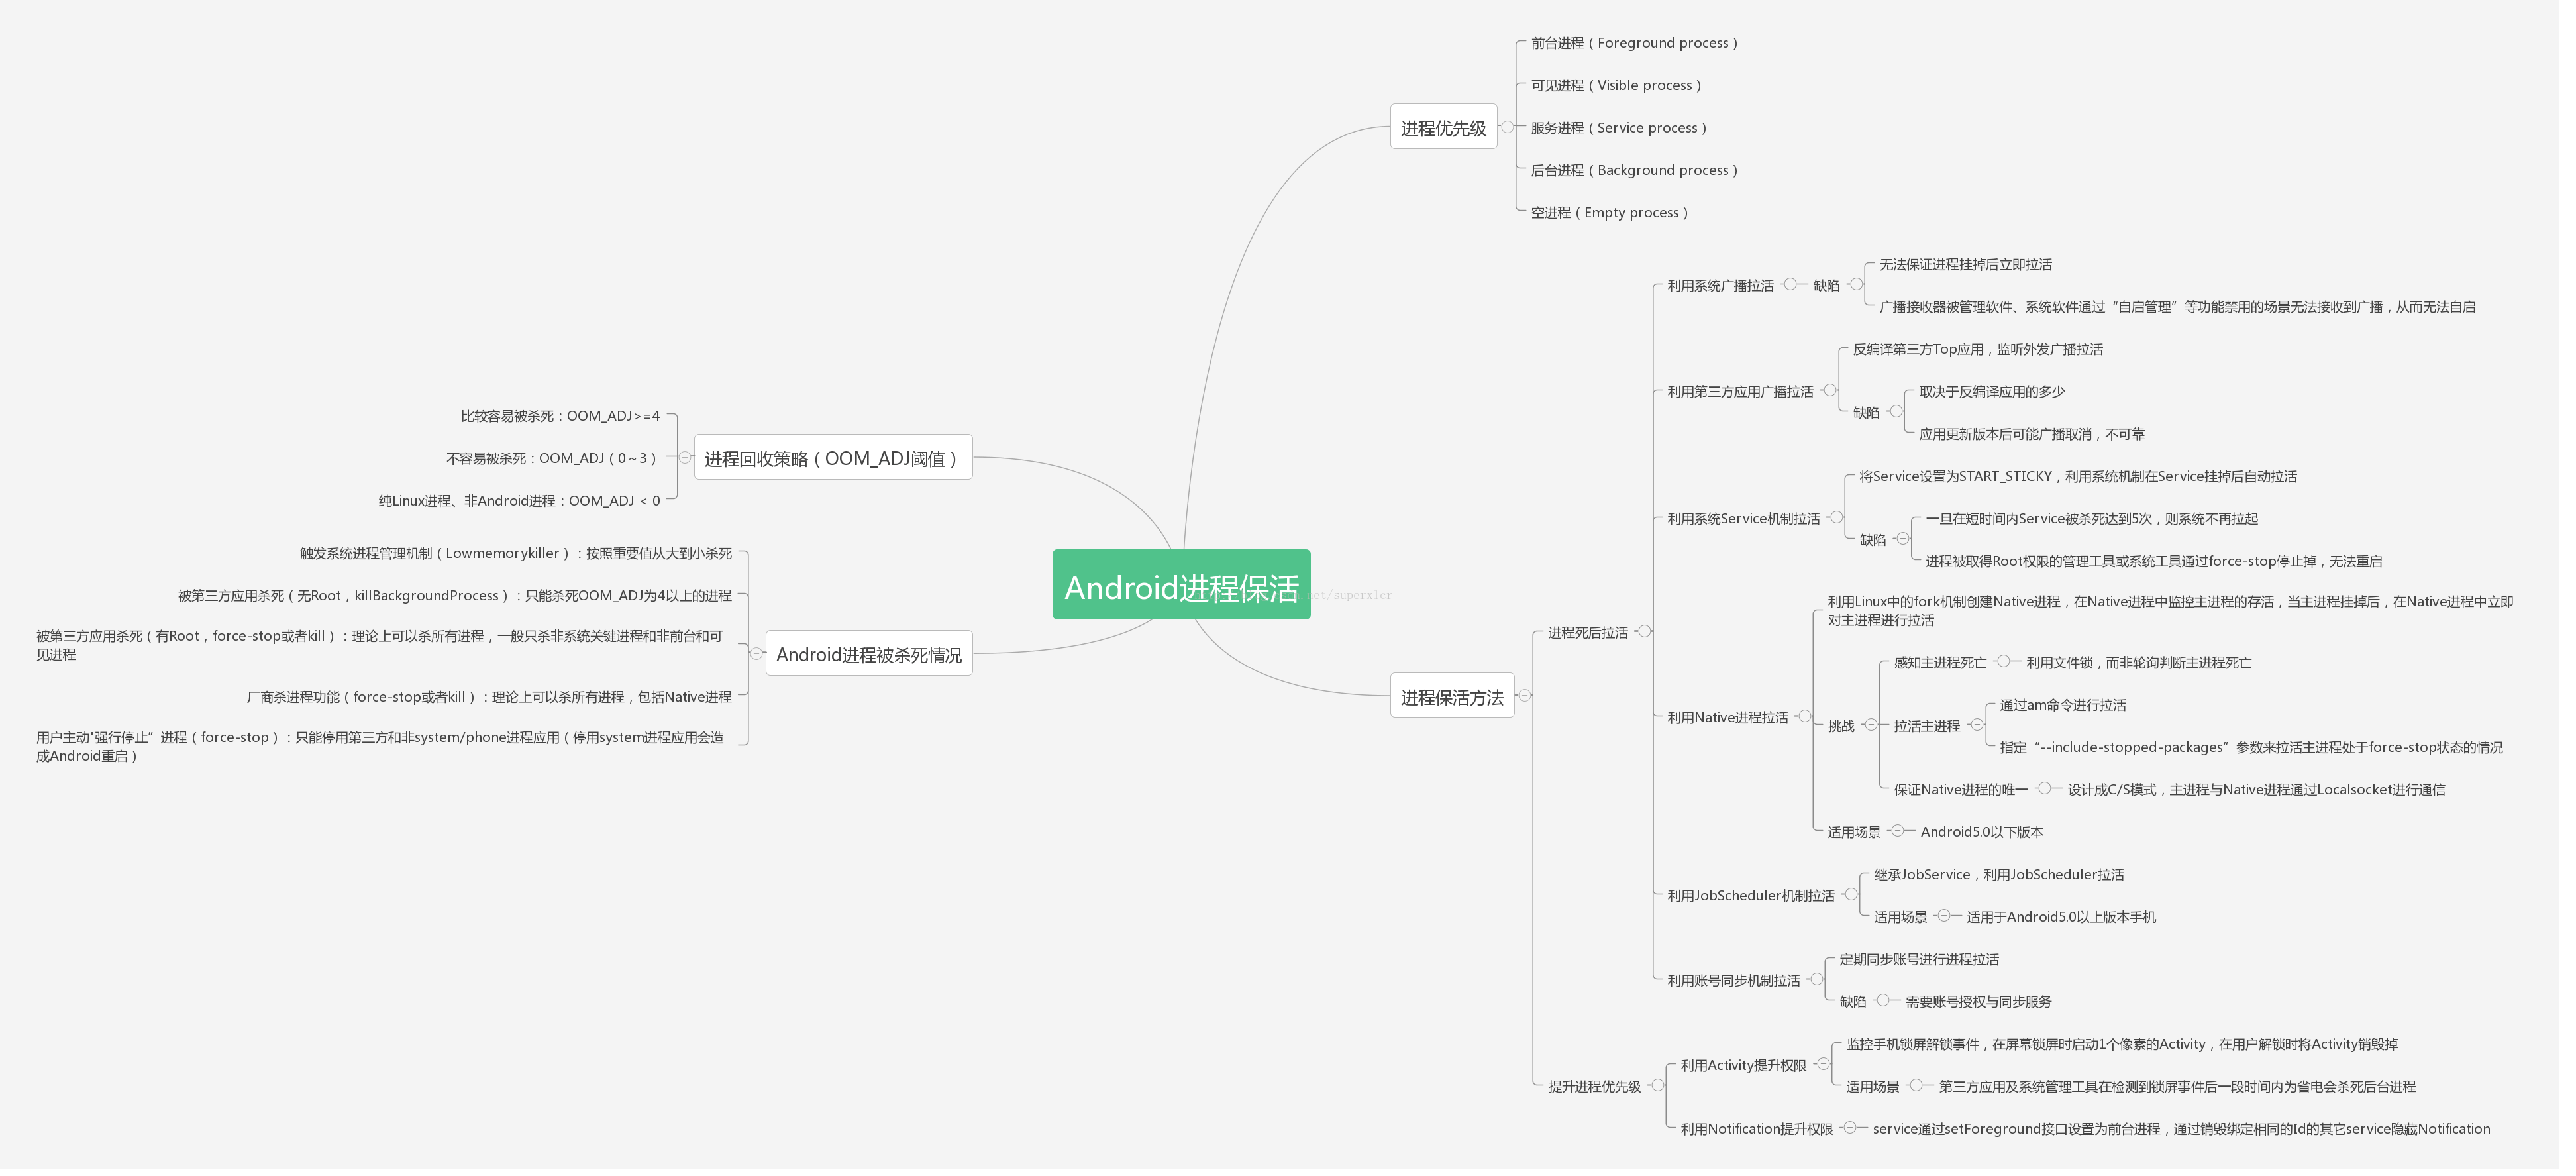
最后以一张思维导图来总结上述Android 进程保活的内容: